How to Make Apple Juice and Cider with a Fruit Press and Crusher
My family loves autumn more than any time of year because of the crisp evening air and vivid fall foliage, and all of the fun family and neighborhood activities that take place. One of our favorite activities to do together is the apple harvest and cider pressing. My sister’s family bought a mountain cabin property several years ago with several apple trees in their front yard. The first few years they harvested a few apples for consumption, but allowed most of the crop to fall to the grass to be eaten by deer.
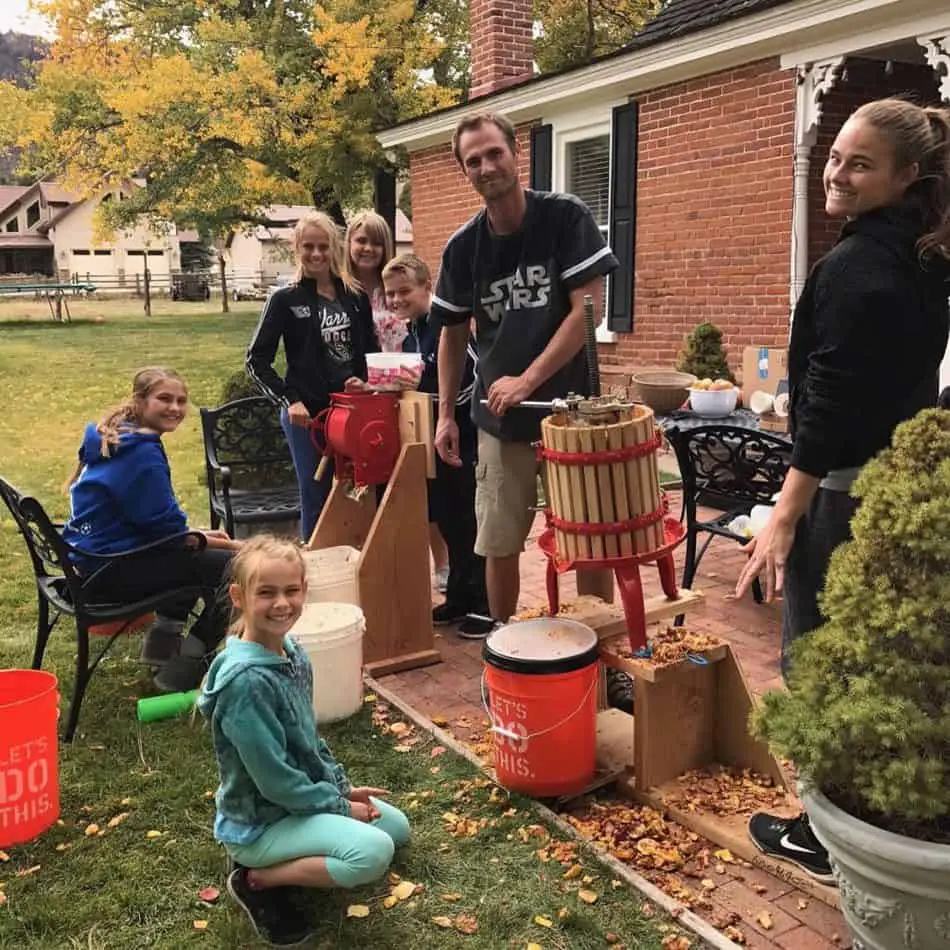
Then, about six years ago, my brother in law bought a cider press. Since then, our family has loved gathering, crushing and pressing the apples. (not to mention drinking the delicious apple juice). Because it was a new process for us, I thought I would share what we have learned over the years as we have continued this tradition.
1. Gather your Apples
After we harvest our apples, we use a 16 liter, cross beam, beech wood press, but the concept will be the same regardless of the size and style of your apple press. If you have never pressed apples but would like to begin doing so, I recommend buying the Weston 16 quart fruit press found here.
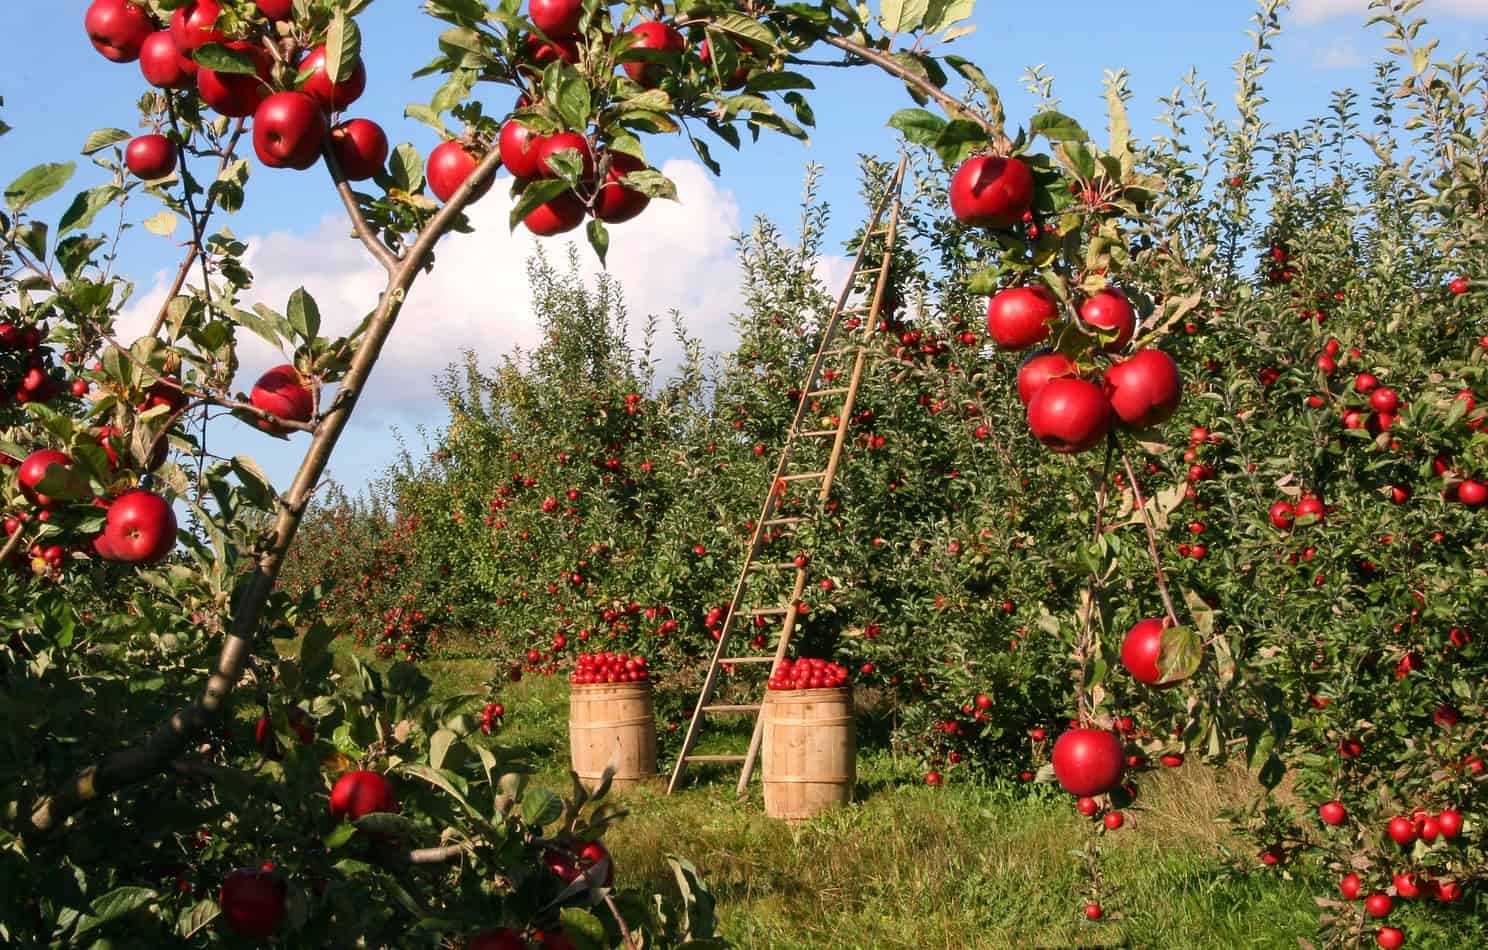
Apples ripen at various times throughout the year, so depending on the type of apple tree you’re dealing with, the weather, and where the apples are located, they will ripen at different times. We are located in grow region 6a and 6b so our apples typically ripen in early October. You can check your grow zone or hardiness zone here.
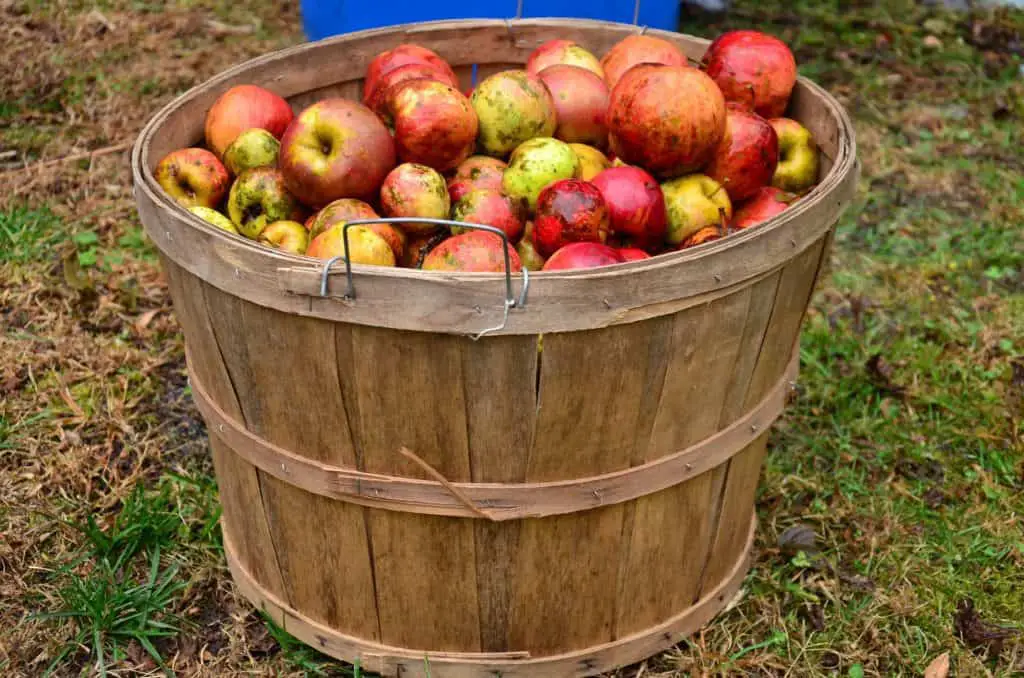
To gather and pick our apples, we use small step ladders and bushel buckets, but any clean bucket will do. Hint: We like the tall Home Depot buckets because they hold more apples. You can also use apples that have fallen to the ground so long as you gather them quickly.
2. Give the Apples a Good Rinse
Giving your apples a good rinse prior to juicing is especially important if you have sprayed any type of chemical, such as pesticides or herbicides on the fruit. As you gather, keep in mind that 50 regular sized apples (about 8 ounces in size or “large PLU”) will yield about a gallon of juice.
3. Cut out Rotten Parts
Spend some time looking over your apples. Any rotted portions should be removed and discarded. Additionally, if you do not utilize an apple crusher, this is a good time to half or quarter the apples. For larger apples, it helps the processing and juicing if the apples are cut into smaller pieces prior to juicing.
We use whole apples, and leave the crusher to do the work for us. Do not worry about removing the apple seeds. I have seen some folks remove the apple seeds, but this is not necessary, as the seeds will be strained from the juice during the crushing and juicing process, and will take a long time to remove.
4. Cut the Apples into Smaller Pieces
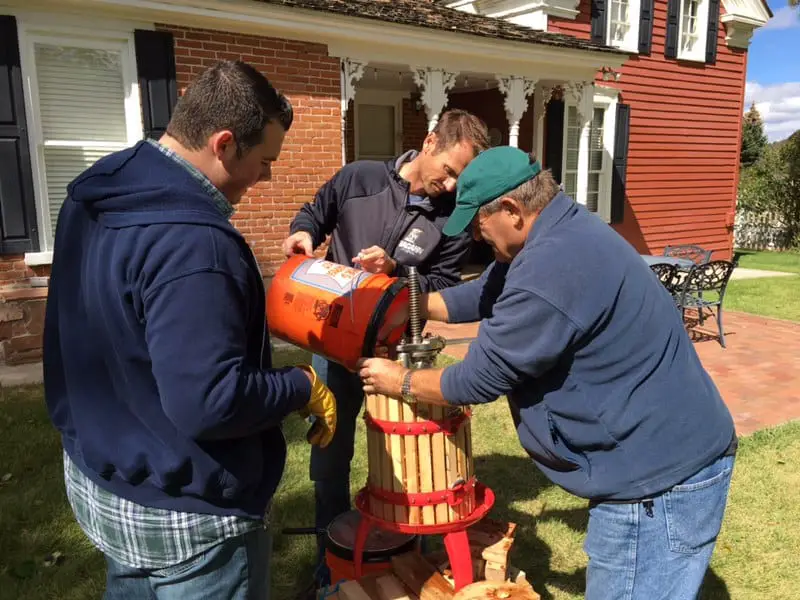
As mentioned above, unless you have a strong crusher, you will want to quarter, half or “bash” the apples before you process them in the juicer. This will allow the teeth of the juicer to grip the pieces a bit better in order to create a pulpy apple pomace and extract the juice. One of the oldest and most traditional methods of breaking up the apples is to use a wooden churn or bash bucket and heavy pole to literally “bash” the apples into smaller pieces prior to juicing. Our grinder has a hand crank, and as you turn the crank, it grinds the apples into a mash that falls into a mesh lined bucket (or straining bag) for juicing.
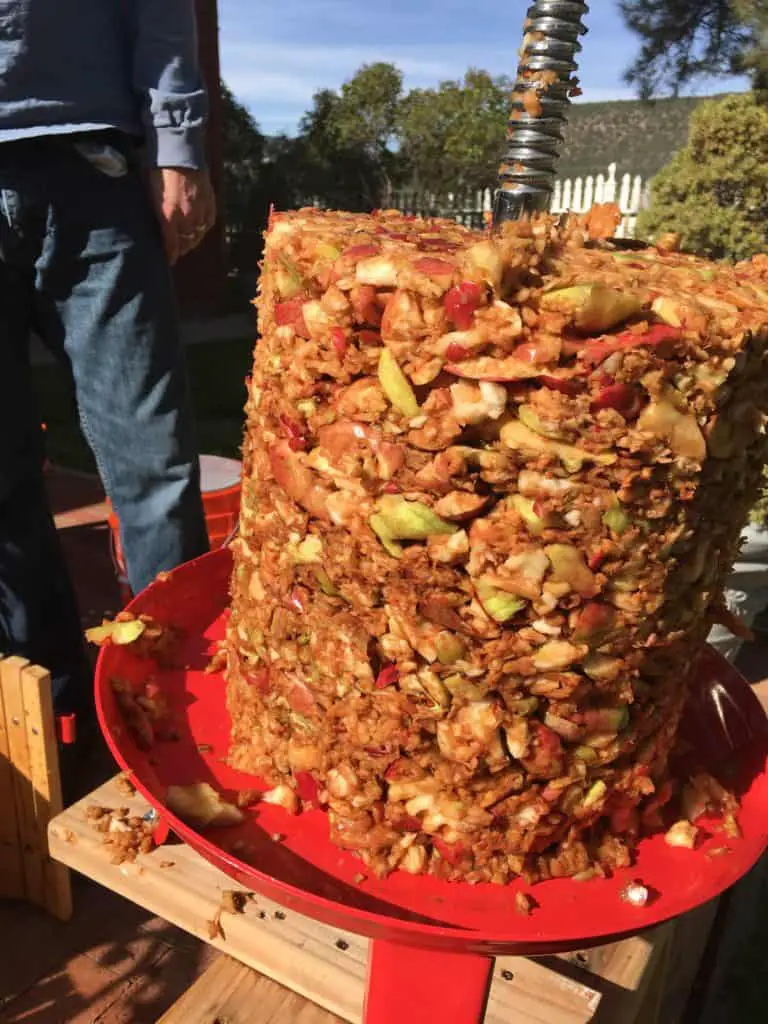
Next, you will want to connect the crusher to the press, or place the apple pomace into the press. Depending on the type of press you prefer, you can use a straining bag or muslin cloth between the crusher and press. Typically, any porous fabric will do, so long as it has a hole in the middle of the bag for the press gear (or threaded press spindle) to fit through. The purpose of the strainer is to catch any apple pieces and mashed apples and effectively separate them from the juice.
5. Begin Pressing
Once the apple pieces are in the crusher or crush cage, place the pressing plate on top, with the press blocks above (if needed), then add the wooden cross bar or pressure plate on top, then the ratchet screw. Next, screw the clamp pieces tight and level, and crank the press down, guiding it between the bucket beams.
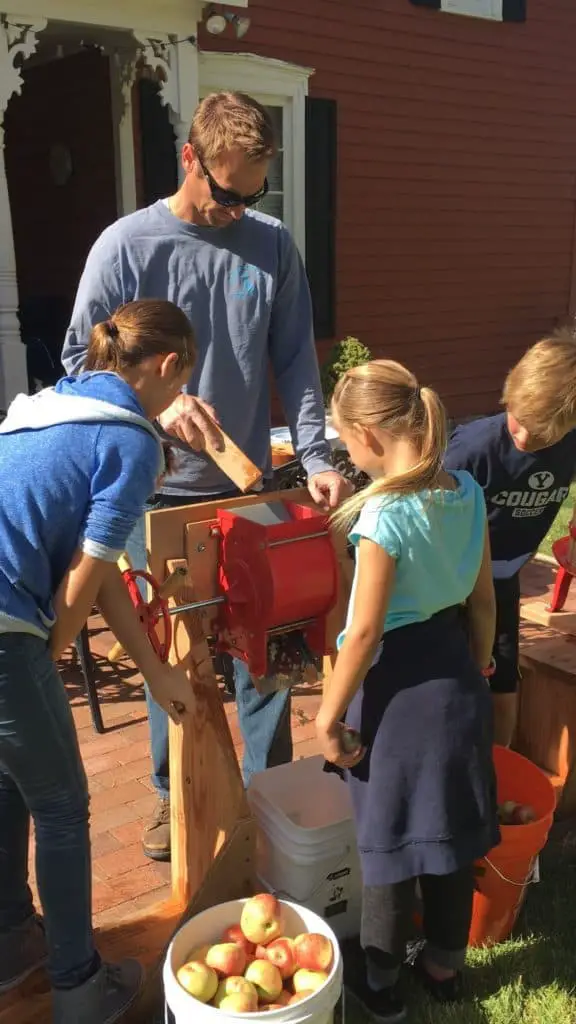
Then insert the metal rod into one of the press gear holes and turn the rod (cranking the press down even father) until juice starts coming out of the collection plate and spout. Continue turning the rod until the crushed apple pieces have yielded all of their juice into your catch container. Note, you may need to take breaks in cranking the rod, as the spout can handle only a little bit of juice at a time
6. Strain Again
Finally, we use a second sieve or strainer to catch any remaining apple flesh bits that come through the juicer. We then use a funnel to pour the juice into pre-washed gallon jugs for storage. As noted earlier, a bushel of 50-60 regular sized apples will typically yield a gallon of apple juice. The juice is absolutely fantastic and much sweeter than store bought apple juice varieties.
Making Cider
If you wish, you can use some of your fresh apple juice to make apple cider. To make homemade cider, we use 6 cups of fresh apple juice, mixed with ¼ cup of maple syrup, next, we enclose a combination of (2 cinnamon sticks, 6 whole cloves, 5 allspice berries and 1 orange peel), in a cheesecloth pouch and drop the pouch into the juice and syrup mix and heat it on the stove top for 10 minutes until the cider is very hot but not boiling.
Make Apple Cider Vinegar
You can also use the leftover crushed pieces to make apple cider vinegar. A good friend of ours has a great recipe for apple cider vinegar here.
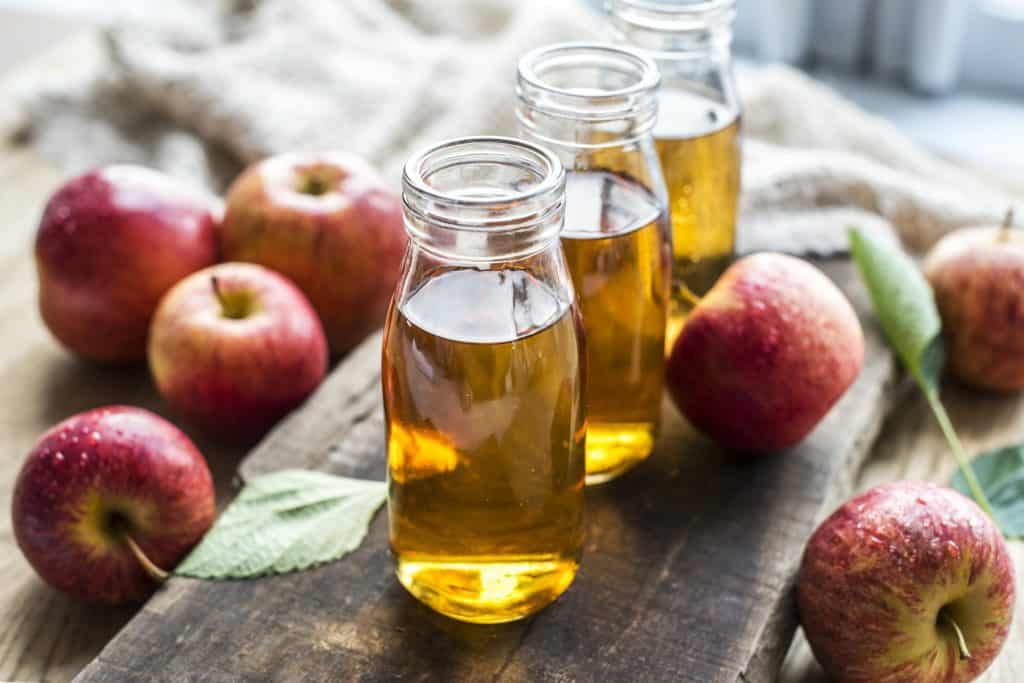
Apple cider vinegar is very popular in the natural health community, and is claimed to aid the human body in numerous ways, including weight loss, reduced cholesterol, and lower blood sugar levels. Apple cider vinegar is also an ancient folk remedy used for various household and cooking purposes.
Overall, whether its for making juice, cider, or vinegar I hope you will enjoy pressing apples as much as our family has over the years. It truly has become one of our favorite fall traditions.
[/et_pb_text][/et_pb_column][/et_pb_row][/et_pb_section]
