Green beans are a mainstay for growing in the garden. They can be cultivated and will continue to bear a harvest all season long. Sometimes also known as string beans and snap beans.
In this article we will give you some great tips and a few tricks to ensure a great crop of green beans. We will let you know about:
- The varieties of green beans you can plant.
- Pole beans versus bush beans.
- When and how to plant
- Watering
- Fertilization
- Pest issues
- Harvesting
- Preservation and storage
Green beans are some of people’s favorite vegetables from the garden. Green beans can be a fresh raw snack and preserved to be a great vegetable all throughout the year.
This article will give tips and information to grow a great crop of green beans to enjoy.
Varieties of green beans.
There are two main groups of green beans. Pole beans and bush beans. Bush type green bean varieties need no support and are simple to grow and provide excellent green beans.
When you grow the tall climbing pole bean varieties you will need to construct a trellis or have a fence or some kind of support for the green beans to grow up on. Many people argue that the flavor of pole beans is much better than bush beans.
I think they are both great. If you have room, I would recommend trying to grow both and see what would work best for you. We have found that the bush green beans serve our needs best. We are out for good production for eating and preserving.
Bush beans
Bush beans were developed to be a production crop. Bush beans are often picked by machines for commercial growers. They are more easily managed and do not require any support or trellis to grow on. Some green bean connoisseurs argue that they maintain a “green taste” that is less than desirable. I think they taste great and will often mature two weeks before pole beans will.
I have been happy with our bush beans. They are easily picked, snapped, and preserve well. Many of our neighbors and those who purchase beans from us will eat them raw as a fresh snack.
Bush beans are a great plant for smaller areas, and you don’t have the room or time to construct a support for beans to grow on. There are many small yard gardeners that can grow bush beans in grow boxes, pots, and vertical planters.
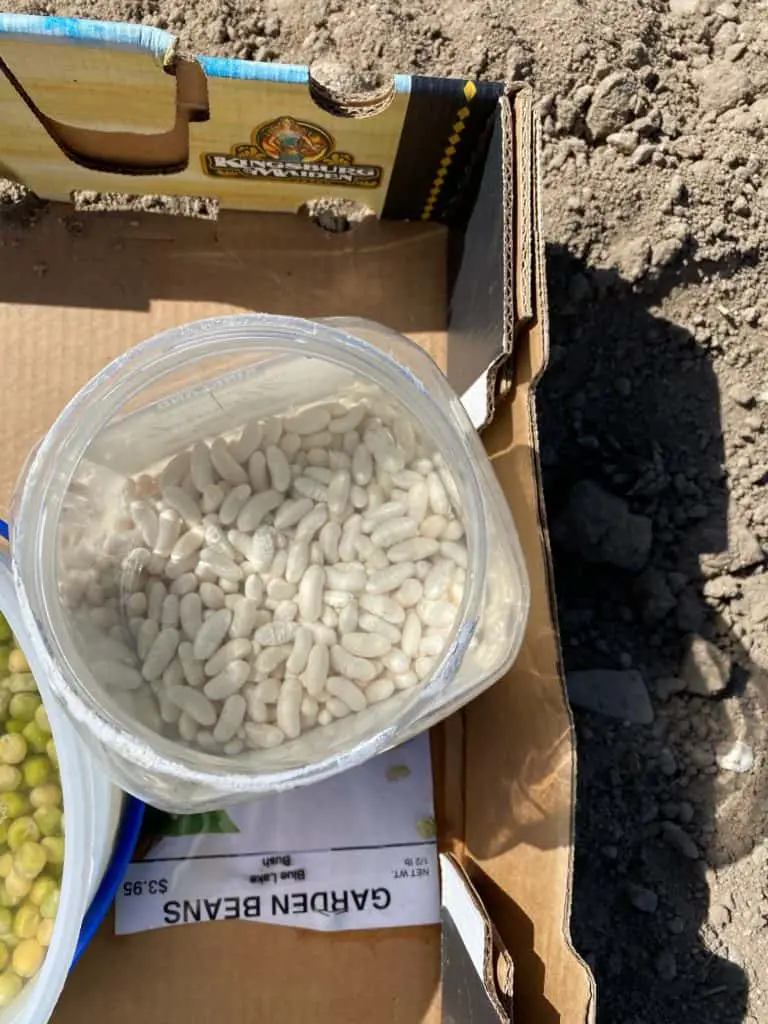
Some recommended bush bean varieties with great quality and yield are:
- Tender Crop
- Tender Pod
- Blue Crop
- Bush Blue Lake
- Slenderette
- Mascotte
- Contender
We grow Bush Blue Lake and Slenderette. Both have great flavor and produce well. The Slenderette variety has a smaller diameter and the bean seed inside the bean pod is smaller.
Bush Blue Lake have a great flavor and produce throughout the summer and into the first few frosts.
Pole beans
Pole beans have been around for a long time. With the heritage of pole beans comes great varieties with distinctive characteristics. Most notably the colors, which can vary from green to yellow to purple, and flavor, which is a richer nuttier flavor. The flesh of the pole beans are often thicker than bush beans.
Most pole beans will grow 6-12 feet. You will need to use some type of support for the beans to grow up. It will also take a little training for the vines to grow where you want them to grow.
Some people will put up a pole with twine stretched down to the bean plants. Some will create a bean tunnel. You can be as creative as you want or need, as long as you have some kind of support for the beans to grow on. If you just let them grow on the ground you will find problems with the beans rotting, leaves getting mildew and attracting diseases and pests.
There are also decorative beans called runner beans that are sometimes classified as pole beans. They are often sold as a flower in the United States, but or sold as a production eating bean in Europe.
The runner beans are fun to grow if you have the right climate for them. They grow well in cool wet areas. Often seed companies will sell them as flowers in the U.S., but you can grow them to eat the beans.
The varieties of pole beans that we recommend are:
- Kentucky Wonder
- Blue Lake
- Romano
- Fortex
- Purple Podded Pole
Varieties of runner beans that work well are:
- Painted Lady
- Scarlet Runner
- Hestia
An interesting fact about runner beans and pole beans. Runner beans will wind themselves around the support clockwise, whereas pole beans wind themselves around the support counterclockwise. This should be taken into consideration when training the new vines as they are growing.
When and how do you plant Green Beans?
Green beans are a hot weather crop and love full son and heat. You can plant them late in the spring, after the final frost date. They can be planted in monthly succession until mid-summer to continue a crop until fall.
For beans to germinate the soil needs to be warm 70 degrees F (21 degrees C). Green beans like full sunlight as well. If you plant beans too early you risk having the seeds rot before germination.
Green beans are a quick geminating plant. They are also fast growing. You will not need to start them inside and transplant them. Green beans really don’t do well with transplanting.
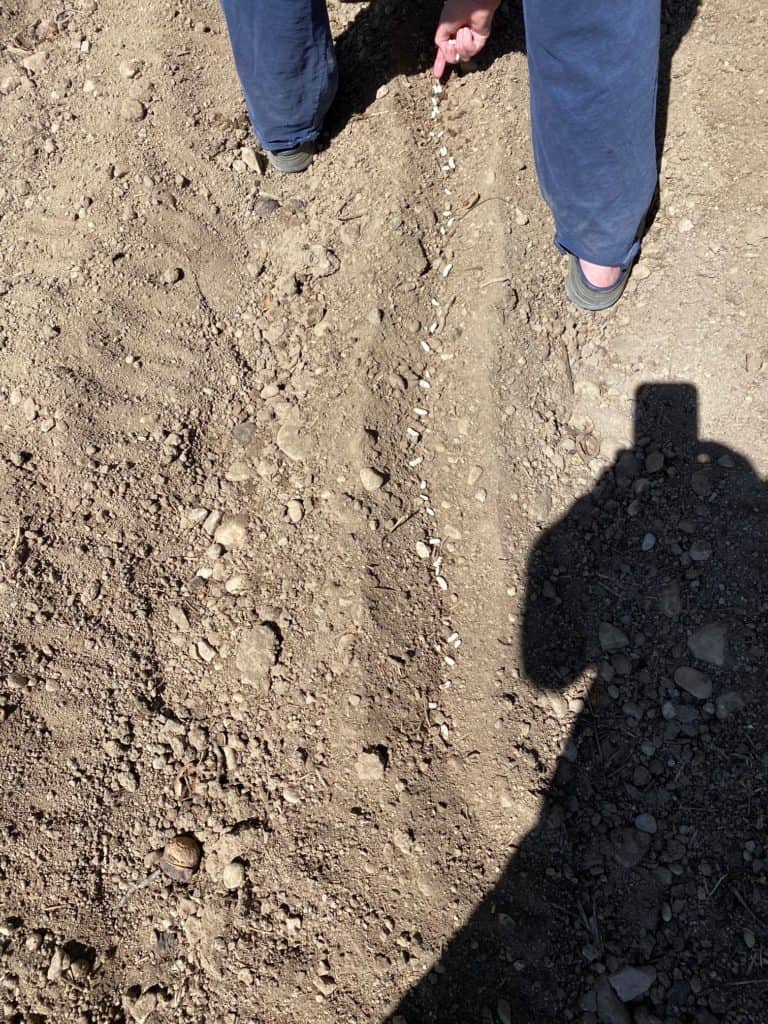
When you plant the green bean seeds in rows you should plant them right in the middle of the row. The rows themselves should be 30-36 inches apart. Space the green bean seeds 2-3 inches apart, and 1 inch deep. If you have clay soil you will want to plant the seeds a little shallower to allow the sprouts to break through the surface.
Green beans do well as a row crop but can be cultivated in a variety of ways. They work well in planter boxes, raised beds, vertical planters, and even buckets. Some vertical planters can get as much yield in a small space as others get in a long row or huge patch.
We have used a manual seed planter to plant green brans and done well. You simply select the correct size planting disk, put the seed in the hopper on the top of the planter, set the depth on the foot of the planter and push it down the row. This is a good option if you have a larger garden area to plant. When you are planting with a seed drill attached to a tractor, follow the specifications recommended by the manufacturer of your seed drill.
We also have found that just opening up a row and placing the seeds by hand then closing up the row burying the seeds works great.
A tip that we use with green beans for smaller gardens is to soak the seeds in water for a few hours, sometimes even overnight to help with germination. When you soak the green bean seeds, they will not work in the seeder, so planting them by hand is the best option if you soak the seeds in water.
Watering
When watering the green beans, you will want to keep the soil moist until germination. Using a sprinkler will work and will keep the surface of the soil soft for the sprouts to go through.
Once the green beans have germinated then it’s much better to water them with a furrow or drip system once a week. Sprinkling green beans captures water on the leaves. Green beans are highly susceptible to fungal damage and disease that can come when water sits on the leaves after sprinkling.
Be observant if the soil is too dry. Sometimes a warm spell in the hot summer can dry out the soil pretty quickly.
Usually watering them once a week when it is cool and twice a week works fine, but will depend on the composition of your soil, whether it is sandy or clay. Sandy soil may need a little more water.
Fertilizing
Usually an application of a general garden mix fertilizer will be plenty for green beans. A mix of 15-15-15 will do fine. Here is an article we wrote about fertilizers that can help clarify.
Green beans are susceptible to mineral deficiencies in the soil, especially zinc and iron deficiencies. If your soil is low in these, you will want to add zinc and iron in a chelated or sulfated form. It’s best to work the fertilizer and the zinc and iron supplements into the soil before planting.
Green beans are a legume and have the property of being a nitrogen fixer. They have properties with their growing and bacteria in the soil that works to fix nitrogen into the soil. This leaves the soil full and ready for nitrogen using plants. Often legumes such as green beans are used as a green manure to help fertilize soil. We have a great article on it here. You can in effect use green beans for a double purpose in your garden or farm.
Maintenance and pest management
Green beans are fast sprouting and growing. Keep them weed free, especially the young plants. Once the green bean plants mature the leaves will shade out most of the weeds making them easily maintained.
Green beans do have insects and pests that can decimate your crop. Beetles, leaf hoppers, moth larvae, slugs, and snails are some of the main pests to deal with.
If you have a smaller row or patch of green beans, it’s advisable to handle these pests by hand. Just inspect the plants as you are weeding and harvesting. Pick off the pests and keep your plants growing strong.
One pest in particular is one we battle every year is the Mexican Bean beetle. They are pretty tricky. They look similar to ladybugs so often they get left alone thinking that they are a beneficial bug. They lay eggs on the underside of the bean leaves. These beetles can really take down a bean plant quickly when the eggs hatch. If you see them squish them and look for patches of little yellow eggs on the underside of the bean leaves. Squish the egg patches as well.
There are some great alternatives to pesticides to take care of pests in the garden. We have a great article on alternatives to pesticides here.
If you have a larger row or patch of green beans you may want to use an insecticide or pesticide. I would caution anyone when they are looking into using insecticides and pesticides. Pesticides do not discriminate. Pesticides will kill beneficial bugs as well as the detrimental bugs. Some pesticides can leave residue and chemicals that stay in the soil for years.
If you decide to use pesticides use them early in the growth of the plants before the beans begin to bear fruit to avoid contaminating the green beans. Some pesticides that are recommended for home use are Malathion or Sevin. Again, be careful and read the entire label including the warnings before using a poison on your garden.
Harvesting.
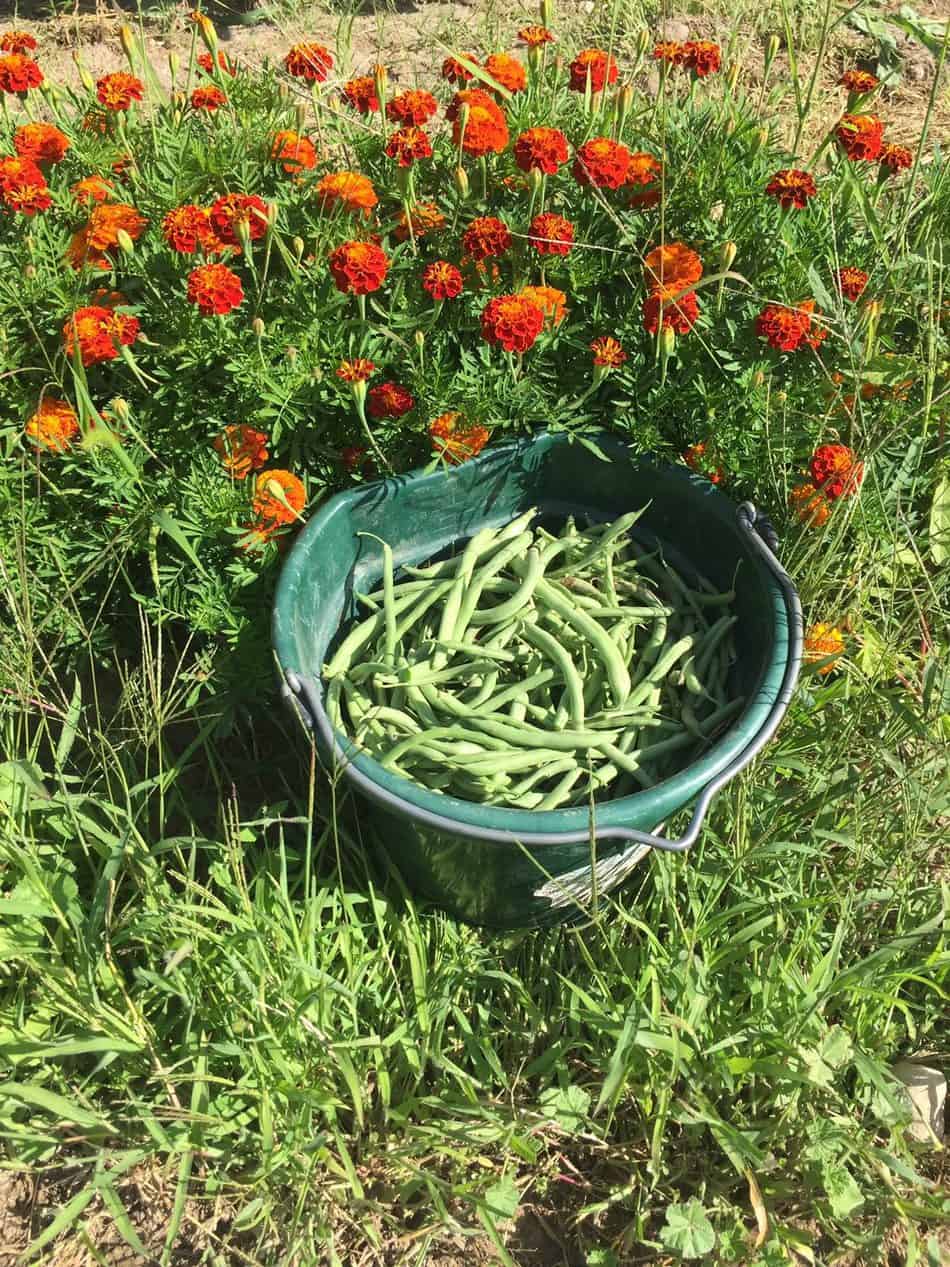
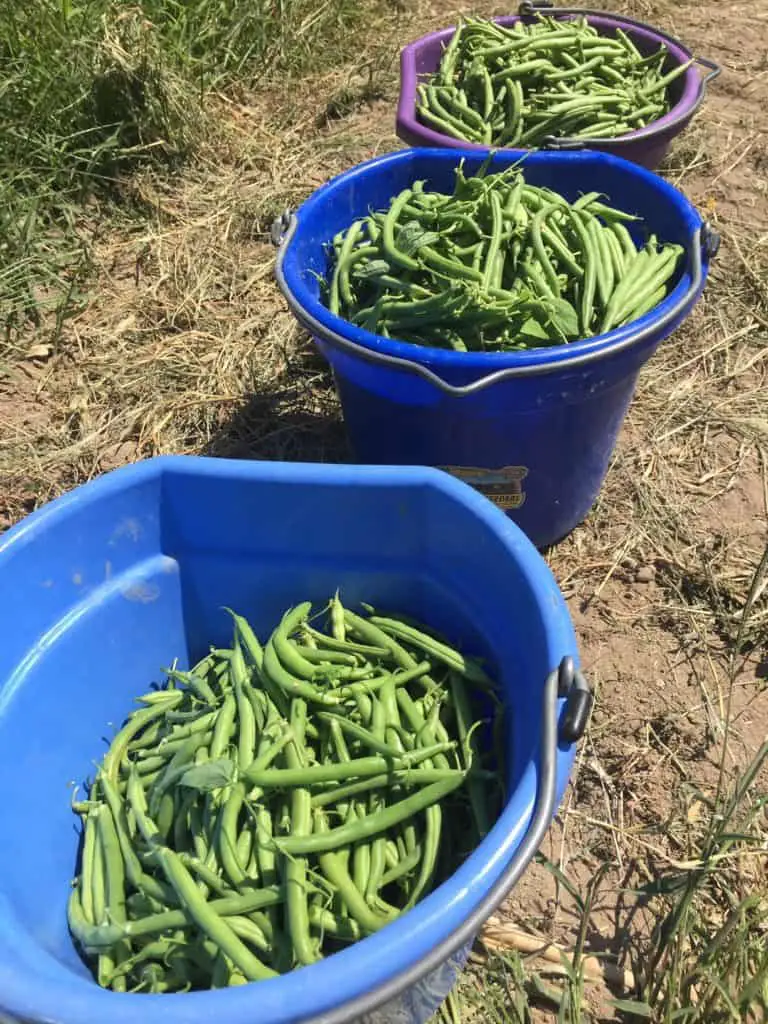
Harvesting green beans is rather a simple technique. You grab the green bean and grab the plant and carefully pull the pod off the plant. In my experience the green beans don’t all ripen at once. It usually takes us 4-8 pickings to get all our green beans. Often, it’s the cold autumn weather that gets our green bean plants before they finish producing. So being careful to not damage the plant is important.
Green beans will ripen and grow long and swell up. You will want to pick the green beans when they are long and crisp, not old and rubbery. Sometimes the green beans can even seem like they are made out of Styrofoam if they get too old.
If you can, pick green beans early in the morning. They retain the moisture in them and taste better. Green beans are also easier to snap when they are full of moisture.
Snapping
Snapping green beans is completely up to your preference. If you are creating a beautiful display, then you will want to just snap off the top. Some chefs like to leave them entirely intact to give a natural look. If you are eating them straight from the garden, you can pretty much do whatever you want.
If you are canning, bottling, or preserving them you will probably want to snap them into 1-2-inch lengths. The shorter lengths can fit more per bottle.
If you are pickling green beans, then you will want to leave them long and snap the tops off.
Preserving and Storing Green Beans.
Green beans are one of my favorite vegetable for storing from the garden. Green beans are full of flavor and nutrients. Green beans are great fresh and even raw for eating. They are also a great vegetable to eat throughout the rest of the year and can be preserved in several ways.
Canning Green beans
You can preserve green beans by canning them. For canning green beans, you will need clean glass canning jars, canning lids, canning or pickling salt, water, and a canning pressure cooker. Here is a link to a canning pressure cooker, and here is a link to an instant pressure cooker that can be used for canning.
For a rule of thumb. 9 pounds of green beans makes 9 pints. 14 pounds of green beans makes 7 quarts. If you want to add salt to your green beans it’s recommended ½ teaspoon per pint, or 1 teaspoon per quart.
You will want to snap and wash the beans. You will then need to decide whether to can the green beans in a hot pack or raw.
Hot is when the green beans are cooked before pressure canning.
Raw is when you put raw green beans into the jars and poor boiling water over the peas.
Processing the jars in the pressure canner is the same for both methods. The minor difference is the taste.
Hot pack
For hot pack green beans cover peas in a large pot with boiling water. Boil the green beans for 5 minutes to fully cook them. Add ½ teaspoon of salt per pint to the pint jars, or 1 teaspoon of salt per quart to the quart jars. The salt is added for flavor, you do not need to add the salt if you don’t want to.
Fill the jars loosely with hot green beans. Add enough of the juice that the green beans are cooked in to leave a 1-inch headspace in the top of the jar. Make sure the bubbles are out of the jars. If you are low on the juice the green beans have been cooked in, you can just add boiling water to the jar until there is about 1 inch of space at the top of the jar.
Wipe the jar with a clean towel. Place the lid on the jar and screw the top or screw band on. Follow the recommendations on the lid package. You will need to tighten the screw band finger tight, meaning not too tight and not too loose.
Raw
The raw method is fairly simple. Add ½ teaspoon of salt per pint to the pint jars, or 1 teaspoon of salt per quart to the quart jars if desired. Fill the jars with raw green beans leaving at least 1 inch of room at the top of the jar. Add boiling water to the jars leaving 1 inch of room, or headspace, at the top of the jar. Remove air bubbles in the jars. You may need to add a little more boiling water to the jars as you get the bubbles out.
Just like the hot pack, you wipe off the top of the jar with a clean wet towel, put on a lid and screw the top or screw band on. Make sure the screw band is finger tight, not to tight and not too loose.
Process Jars in Pressure Canner
Make sure you read and understand how to run and work the pressure cooker. Pressure cookers can be very dangerous and need to be used with great care. Read, follow, and be familiar with all guidelines from the manufacturer.
Pressure canning beans is essential for preserving canned green beans. Pressure canning is dangerous, and you will need to be observant during the process. We have used pressure cookers for canning beans for decades and have never had a problem, other than the occasional burn when not being as observant as we should have been.
Prepare the canner by putting in hot water and the rack. Follow the recommendation of the manufacturer, generally two or three inches of water above the rack.
Put the filled jars on the jar rack in the canner. Be careful to keep the jars upright. Sometimes tipping the jars can get food under the lid and will not let the jar seal properly.
Fasten the canner lid and leave the weight off the vent pipe or open the petcock. Turn on the heat to high.
Soon the water will boil, and steam will come out of the vent pipe or petcock. Once a continual flow of steam is coming out let it exhaust for 10 minutes. After 10 minutes of continual steam venting you can put on the counterweight or close the petcock. This is when the canner pressurizes for the next 3-10 minutes.
The pressure and time used for canning beans is important and depends greatly on the elevation you are canning at. Refer to the guidelines on your pressure canner instructions for the pressure and time.
Fasten the lid of the canner and turn up the heat of the stove. You will want to heat the water in the pressure cooker to a boil leaven the weight off the vent pipe or leave the petcock open. Steam will come out of the vent or the petcock. Let the steam go for 10 minutes.
After ten minutes of the steam flowing, place the counterweight or close the petcock. The pressure canner will pressurize in 3-10 minutes. The time it takes to pressurize depends on the elevation you are at. Refer to the manufacturer’s guidelines.
Make sure you keep a close eye on the pressure. If the pressure goes below the recommended amount you will need to bring it back up to pressure and start the time needed to process over. If you don’t, you risk the peas being under-processed and being unsafe to eat.
When finished processing take the canner off of the heat and let it cool. Just let it cool naturally to allow the proper processing of the green beans. Forcing cooling could result in spoiled beans. So just relax and let it cool down by itself.
After the canner is cooled and depressurized take off the vent weight or open the petcock. After ten minutes take the pressure canner lid off. Be careful not to mess up the lid and seal. Remove the jars one by one carefully. Let the jars cool naturally and sit for 12-24 hours.
Once cool you can eat the green beans or store them on the shelf for future use.
Any bottles that didn’t seal will need to be eaten immediately or stored in the fridge. You can also reprocess them starting from the beginning of the canning process again.
Green beans are a low acid vegetable. Due to their low acidity you will need to boil them for 10 minutes before eating them to be safe.
Freezing green beans
Freezing green beans is a good way of preserving them. Freezing green beans is simple and straightforward. The process is blanching the green beans, cooling them down quickly, putting them into containers, and then freezing them.
Snap the green beans and wash them thoroughly. Blanch them in vigorously boiling water.
You need to be aware of the elevation you are living at for how long to blanch green beans. 3 minutes below 5,000 feet, and 4 minutes at 5,000 feet and above.
Cool the green beans in ice water immediately after the time is up for blanching. The cooling process should take about the same amount of time as the blanching process. Drain them once cool.
You can then put them into containers and put them into the freezer. One thing you need to be cautious about, if the green beans are left to freeze in a thick bunch or pile, they run the risk of getting spoiled or turning sour. What happens is that the outer layer of beans will freeze and insulate the inner layer form being frozen. The inner layer can sour or spoil before it gets frozen.
The best method we have found is to put a cup or two of green beans into a gallon freezer bag and spread the bag of green beans flat in the freezer. This allows the green beans to freeze quickly and uniformly.
Vacuum sealers work great as well. With vacuum sealers it takes all the air out of the package and there is a lessened chance for freezer burn. Here is a vacuum sealer that might work for you.
Drying green beans
Drying green beans is very similar to freezing green beans. You blanch them, cool them down, and put them in a dehydrator. You can use an oven, but a dehydrator is more efficient.
Snap and wash the green beans. Bring a pot of water to a rolling boil. A precaution can be taken at this point. You can add 1 teaspoon of citric acid per gallon to the water. The citric acid acts as an anti-microbial agent.
Put the green beans in about 4 cups to every gallon of boiling water. You will need to blanch the green beans for 2-4 minutes depending on the elevation. Below 5,000 feet 2-3 minutes, 5,000 feet and above 3-4 minutes.
Put the green beans immediately in ice water. Don’t cool the green beans too much, just stop the cooking process. You will be heating them up with the dehydrating.
Drain the green beans and dry them on a towel or cloth. Spread out the green beans on drying trays in single layers.
Dry the green beans in a dehydrator or oven at 140 degrees F. You may need to turn the green beans over every 3-4 hours. As the green beans get close to being dried, watch closely. They can sometimes get burnt or scorched towards the end of the drying process. Green beans should be very dry or brittle when finished drying.
A food dehydrator that works well is here.
The time to dry green beans in a dehydrator is 8-14 hours. A conventional oven will take a lot longer, up to twice as long.
After the green beans are dried, they can be stored in a container with stay fresh packets, moisture-vapor-proof containers or bags.
Freeze Drying
Freeze drying green beans has not been readily available for the home user. There is an option available for the home use now and can be used readily for most all vegetables and fruits including green beans.
Freeze drying green beans is very simple. You snap and wash the green beans. Dry them out on a towel or cloth. Put the green beans in the freeze dryer and let the freeze dryer go through its process. The freeze dryer can take anywhere from 30-40 hours to work depending on the moisture and size of the green beans themselves.
Freeze drying tastes great and keeps the nutrients in the process. Freeze drying will keep the food edible and nutrient rich for 25 years. The machine itself is a bit expensive. If you are planning to store a lot of your produce, then you will want to consider a freeze dryer.
Here is a link to Harvest Right. They make a home based freeze dryer.
If you are working on a more frugal budget, then you should consider other methods of preserving your green beans.
Summary
Green beans are an easy fun plant to grow in your garden. They sprout and grow quickly. They are relatively easy to care for and maintain. Just make sure the soil is warm and keep the seeds moist. Once the green beans get growing you will just need to keep them watered about once a week and harvest the beans as they ripen.